Transform your home with a flawless interior painting project by following expert tips from Ryan’s Home Improvement & Renovation. Whether you’re refreshing a single room or undertaking a full home renovation, achieving a perfect finish is essential for enhancing your living space. Our team, serving Broward and Palm Beach Counties, specializes in delivering high-quality craftsmanship in painting, kitchen and bathroom renovations, and more. In this guide, we’ll share valuable interior painting tips that ensure a smooth, professional look, while also highlighting the importance of choosing the right paint colors and finishes. With our competitive pricing and transparent communication, you can trust us to bring your vision to life. Contact us for a free estimate today and let us help you transform your home with expert interior painting services.
Choosing the Right Paint and Finish
When it comes to achieving a flawless interior paint job, selecting the right paint and finish is crucial. The choices you make can significantly impact the overall look, feel, and durability of your painted surfaces. With a myriad of options available, understanding the differences between paint types and finishes can help you make informed decisions that align with your aesthetic preferences and functional needs.
First, consider the type of paint that best suits your project. There are primarily two types of paint: latex and oil-based. Latex paint, also known as water-based paint, is the most popular choice for interior walls due to its ease of use, quick drying time, and low levels of volatile organic compounds (VOCs). It is also easy to clean with soap and water, making it a practical choice for most rooms. On the other hand, oil-based paint is more durable and resistant to wear, making it ideal for high-traffic areas or surfaces that require a hard, glossy finish. However, it takes longer to dry and requires mineral spirits for cleanup.
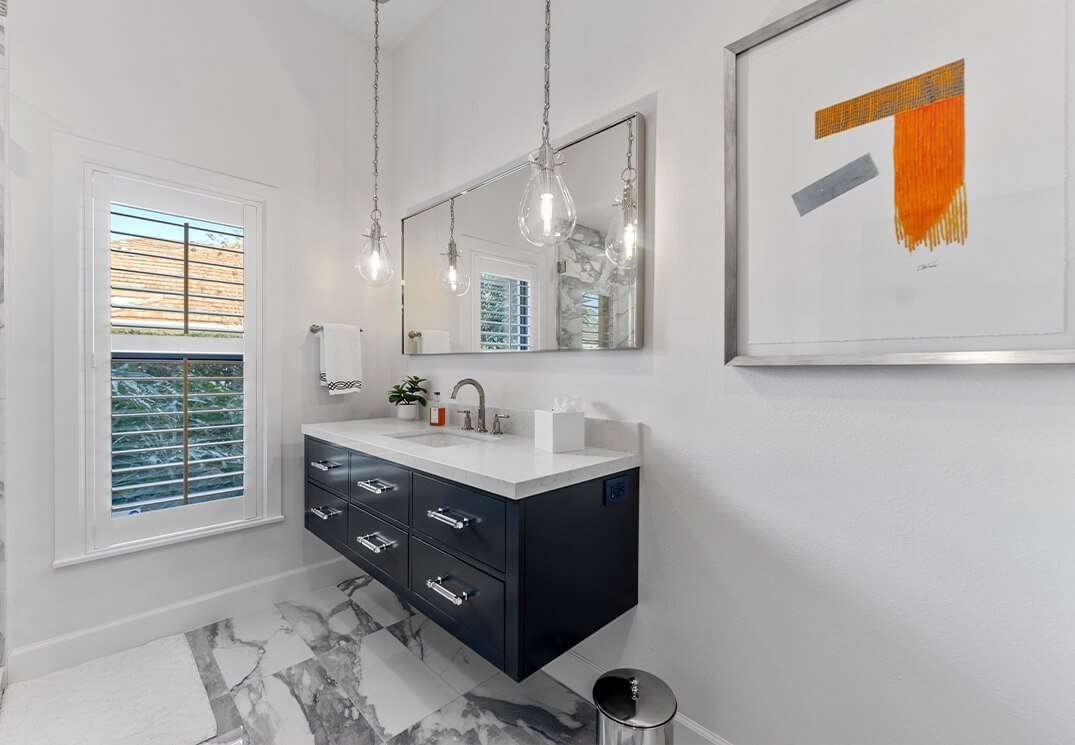
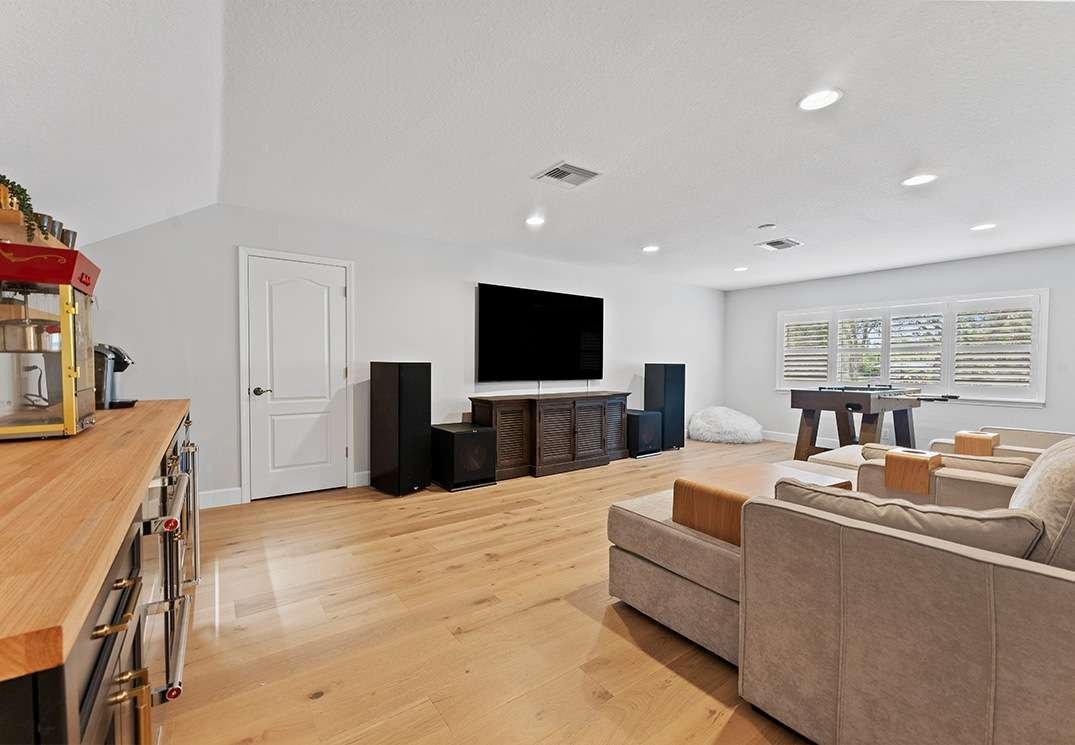
The finish of the paint is another critical consideration. Paint finishes range from flat to high-gloss, each offering different levels of sheen and durability. Flat or matte finishes have no shine and are excellent for hiding imperfections on walls, but they are less durable and harder to clean. They are best suited for low-traffic areas like bedrooms or ceilings. Eggshell and satin finishes provide a slight sheen and are more durable than flat finishes, making them suitable for living rooms, dining rooms, and hallways. Semi-gloss and high-gloss finishes offer a shiny appearance and are highly durable and easy to clean, making them ideal for kitchens, bathrooms, and trim work.
When choosing paint colors, consider the room’s purpose, size, and lighting. Light colors can make a small room feel larger and more open, while dark colors can create a cozy and intimate atmosphere. It’s also essential to test paint samples on your walls to see how they look at different times of the day and under various lighting conditions. This step can prevent costly mistakes and ensure you are satisfied with your color choice.
Additionally, consider the environmental impact of your paint selection. Many manufacturers now offer eco-friendly paints with low or zero VOCs, which are better for indoor air quality and the environment. These paints are an excellent choice for those who are sensitive to chemicals or want to reduce their carbon footprint.
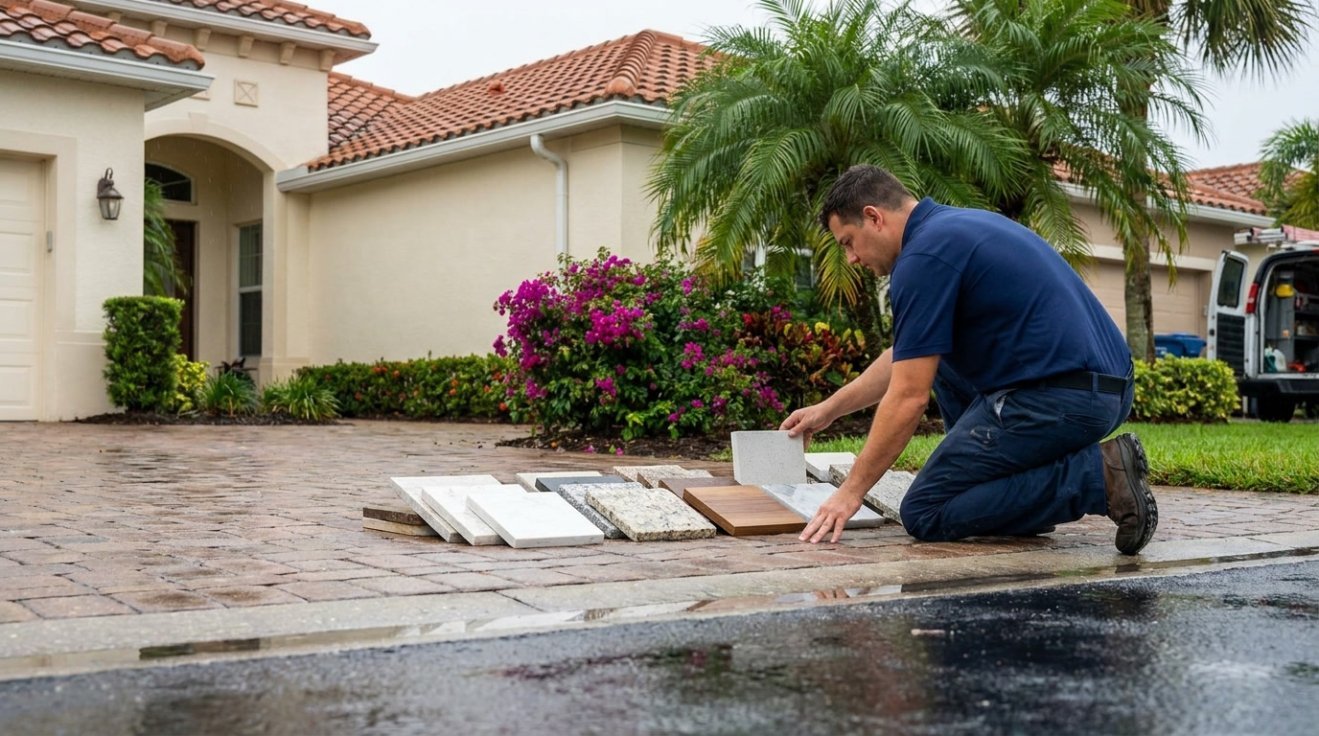
For those undertaking a larger renovation project, such as a kitchen remodel or bathroom renovation, coordinating your paint choices with other design elements is crucial. Consider how your paint colors will complement cabinetry, countertops, and flooring to create a cohesive look. If you need professional guidance, consulting with experts in painting services can provide valuable insights and ensure a high-quality finish.
In summary, choosing the right paint and finish involves considering the type of paint, the desired finish, color selection, and environmental impact. By taking these factors into account, you can achieve a beautiful and durable paint job that enhances your home’s interior. For more tips and advice on home improvement projects, visit our blog or contact us for personalized assistance.
Essential Tools and Materials for a Professional Look
Achieving a professional look in interior painting requires more than just a steady hand and a keen eye for color. The right tools and materials are essential to ensure a perfect finish that will stand the test of time. Whether you are a seasoned professional or a DIY enthusiast, investing in quality tools can make a significant difference in the outcome of your project. First and foremost, selecting the right paint is crucial. High-quality paint not only provides better coverage but also enhances the durability and appearance of your walls. Opt for paints that are specifically designed for interior use, as they are formulated to withstand the unique conditions of indoor environments.
Brushes and rollers are the next critical components in your painting toolkit. For detailed work and cutting in around edges, a high-quality angled brush is indispensable. Look for brushes with synthetic bristles, as they are versatile and work well with both latex and oil-based paints. When it comes to larger surfaces, a good roller can save you time and effort. Choose a roller with the appropriate nap length for your wall texture; a shorter nap is ideal for smooth surfaces, while a longer nap is better suited for textured walls. Additionally, investing in an extension pole can help you reach high areas without the need for a ladder, ensuring a more even application.
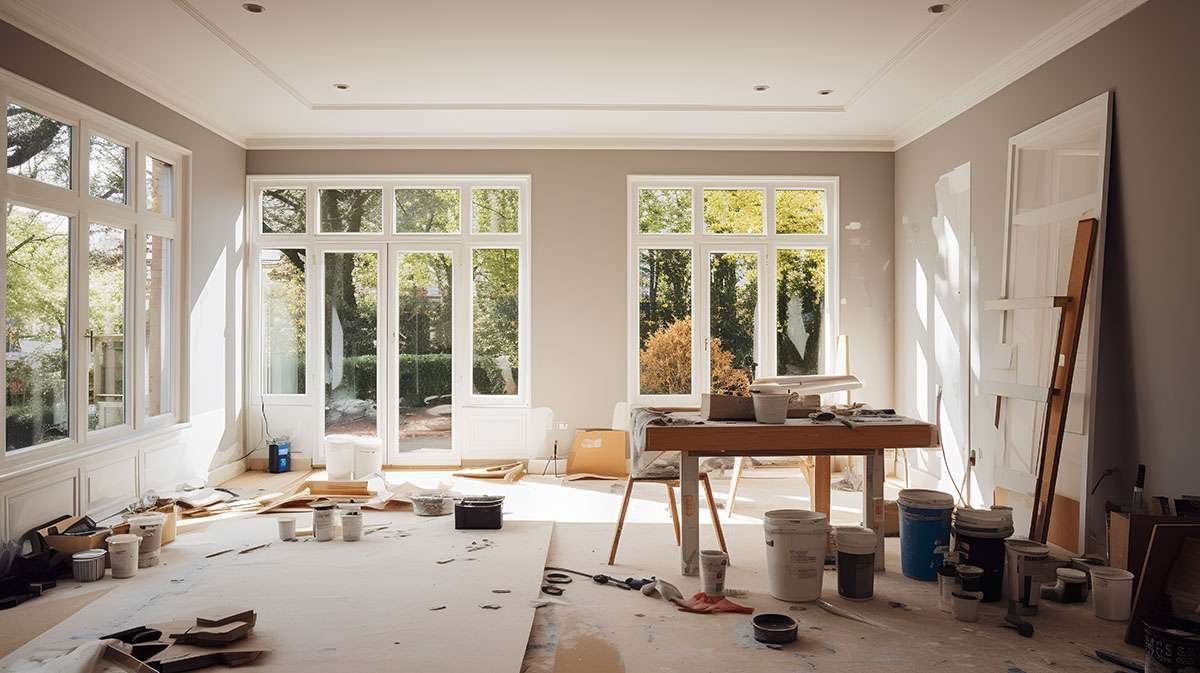
Preparation is key to achieving a flawless finish, and this begins with the right materials. Drop cloths are essential to protect your floors and furniture from paint splatters. Canvas drop cloths are a durable option that can be reused for multiple projects. Painter’s tape is another must-have item, allowing you to create clean, sharp lines and protect areas that should not be painted. Make sure to choose a tape that is specifically designed for painting, as it will adhere well and remove cleanly without damaging surfaces.
Surface preparation tools are equally important. A good quality putty knife will help you fill in any holes or imperfections in your walls with spackle or joint compound. Sanding blocks or sandpaper are necessary to smooth out these repairs and any rough areas on your walls. For larger imperfections, consider using a sanding pole to reach higher spots with ease. Cleaning your walls before painting is also crucial, so have a mild detergent or a specialized wall cleaner on hand to remove dust, grease, and grime.
For those looking to take their painting project to the next level, consider using a paint sprayer. While it requires a bit more skill to use effectively, a sprayer can provide a smooth, even finish that is difficult to achieve with brushes and rollers alone. However, be sure to practice on a test surface before tackling your walls to avoid any mishaps.
Finally, safety should never be overlooked. Ensure you have a sturdy ladder if you need to reach high areas, and always wear appropriate protective gear such as goggles and a mask to protect yourself from fumes and dust. Proper ventilation is also important, so keep windows open and use fans to circulate air while painting.
By equipping yourself with the right tools and materials, you can transform your interior spaces with a professional-quality finish. For more tips and guidance on achieving the perfect paint job, explore our painting services or visit our blog for expert advice. If you have any questions or need assistance, feel free to contact us.
Preparing Your Walls for Painting
Before you begin painting the interior of your home, it’s crucial to prepare your walls properly to ensure a flawless finish. This step is often overlooked, but it can make a significant difference in the outcome of your painting project. Proper wall preparation not only enhances the appearance of the paint but also increases its durability. Start by clearing the room of furniture and covering the floor with drop cloths to protect it from paint splatters. Next, inspect your walls for any imperfections such as cracks, holes, or peeling paint. Use a putty knife to scrape off any loose paint and sand the area smooth. For holes and cracks, apply a suitable filler and allow it to dry completely before sanding it down to a smooth finish. Cleaning your walls is another essential step. Dust, grease, and grime can prevent paint from adhering properly, so wash your walls with a mild detergent solution and rinse with clean water. Allow the walls to dry thoroughly before proceeding. If your walls have stains or are in poor condition, consider applying a primer. Primers help to create a uniform surface and improve paint adhesion, especially on porous surfaces or when transitioning from a dark to a light color. Choosing the right primer is crucial, so consult with a professional if you’re unsure. For more detailed guidance, you can explore our painting services page. Additionally, if you’re planning a larger renovation project, our guide on preparing your home for a renovation might be helpful. Once your walls are prepped, you’re ready to start painting. Remember, taking the time to prepare your walls properly will pay off in the long run, ensuring a beautiful and lasting finish. If you have any questions or need further assistance, feel free to contact us.
Techniques for Cutting In and Rolling
Achieving a flawless finish in interior painting requires mastering the techniques of cutting in and rolling. These two methods are essential for ensuring that your paint job looks professional and seamless. Cutting in refers to painting the edges and corners of walls, where rollers cannot reach, while rolling covers the larger, flat areas. Both techniques require precision and practice, but with the right approach, you can achieve a perfect finish.
Cutting in is the first step in the painting process. It involves using a brush to paint the edges of walls, around trim, and in corners. To begin, choose a high-quality angled brush, which allows for better control and precision. Dip the brush into the paint, but avoid overloading it. A common mistake is to have too much paint on the brush, which can lead to drips and uneven lines. Instead, aim for a moderate amount of paint and tap off any excess. Start by painting a straight line along the edge, using steady and controlled strokes. It’s important to maintain a wet edge, meaning you should work quickly enough that the paint doesn’t dry before you blend it with the roller. This technique helps to avoid visible lines and ensures a smooth transition between the cut-in areas and the rolled sections.
Once the edges are complete, it’s time to move on to rolling. Selecting the right roller is crucial for a smooth finish. Consider the texture of your walls when choosing a roller nap; a shorter nap is suitable for smooth surfaces, while a longer nap is better for textured walls. Load the roller evenly by rolling it in the paint tray until it is fully covered but not dripping. Begin rolling in a “W” or “M” pattern, which helps distribute the paint evenly across the wall. After covering a section, go over it with vertical strokes to smooth out any lines or inconsistencies. This technique, known as back-rolling, ensures that the paint is applied evenly and helps to blend the cut-in areas with the rolled sections.
Timing is also an important factor in achieving a perfect finish. To maintain a consistent appearance, it’s best to work in sections and keep a wet edge. This means you should not let the paint dry between cutting in and rolling. If the paint dries, it can create visible lines and an uneven finish. By working methodically and maintaining a wet edge, you can achieve a seamless look.
For those looking to enhance their painting skills further, consider exploring additional resources or seeking professional advice. At Ryan’s Home Improvement, we offer a range of services to help you achieve the perfect finish in your home. Whether you’re tackling a small room or a full home renovation, our team is here to assist you. Visit our blog for more tips and insights on home improvement projects.
In summary, mastering the techniques of cutting in and rolling is essential for a professional-looking paint job. By using the right tools, maintaining a wet edge, and working methodically, you can achieve a flawless finish. Whether you’re a DIY enthusiast or considering hiring professionals, understanding these techniques will help you make informed decisions and achieve the best results for your interior painting projects. For more information on our services or to get in touch with our team, visit our contact page.
Tips for Achieving Even Coverage and Smooth Surfaces
Achieving even coverage and smooth surfaces in interior painting is crucial for a professional-looking finish. To start, proper preparation is key. Begin by thoroughly cleaning the walls to remove dust, dirt, and grease, which can prevent paint from adhering properly. Use a mild detergent and water solution, and ensure the walls are completely dry before proceeding. Next, inspect the walls for any imperfections such as cracks, holes, or uneven textures. Use a high-quality spackling compound to fill in any gaps, and sand the area smooth once it has dried. This step is essential for ensuring a uniform surface that will allow the paint to glide on smoothly.
Choosing the right tools is another critical factor in achieving even coverage. Invest in high-quality brushes and rollers, as they can make a significant difference in the final appearance of your painted surfaces. A good brush will hold more paint and provide better control, while a quality roller will help distribute paint evenly across large areas. When selecting a roller, consider the nap length based on the texture of your walls. For smooth surfaces, a short nap roller is ideal, while a longer nap is better suited for textured walls. Additionally, using a paint grid instead of a tray can help ensure an even distribution of paint on the roller, reducing the risk of drips and uneven application.
Applying a primer is a step that should not be overlooked, especially if you are painting over a dark color or a surface that has been repaired. Primer helps to create a uniform base, allowing the topcoat to adhere better and ensuring consistent color and sheen. Choose a primer that is compatible with your chosen paint type, whether it be latex or oil-based. Once the primer is dry, lightly sand the surface to remove any brush or roller marks, then wipe it down with a damp cloth to remove dust.
When it comes to the actual painting process, technique is everything. Start by cutting in around the edges of the walls with a brush, creating a border that will make it easier to use a roller for the larger areas. Work in small sections, maintaining a wet edge to prevent lap marks. Use a W or M motion with the roller to distribute the paint evenly, and avoid pressing too hard, as this can cause streaks. Apply multiple thin coats rather than one thick coat, allowing each layer to dry completely before applying the next. This approach not only ensures even coverage but also enhances the durability of the paint job.
Temperature and humidity can also affect the outcome of your painting project. Ideally, paint in conditions where the temperature is between 50 and 85 degrees Fahrenheit, and the humidity is low. High humidity can cause paint to dry too slowly, leading to drips and an uneven finish. If necessary, use fans or dehumidifiers to create a more suitable environment for painting.
Finally, take the time to clean up properly after painting. Remove any painter’s tape while the paint is still slightly wet to avoid peeling off any dried paint. Clean your brushes and rollers thoroughly so they can be reused for future projects. Proper cleanup not only extends the life of your tools but also ensures that your painting area remains tidy and free of debris.
For more detailed guidance on achieving a perfect finish, consider exploring the painting services offered by professionals. If you have any questions or need further assistance, feel free to contact us. Additionally, you can learn more about our comprehensive home renovation services to transform your living space.
How to Clean Up and Maintain Your Painted Walls
Maintaining the pristine look of your freshly painted walls is essential to preserving the beauty and longevity of your interior spaces. Proper care and maintenance not only enhance the aesthetic appeal of your home but also protect your investment in high-quality interior painting. To ensure your walls remain in top condition, start by regularly dusting them with a soft cloth or a microfiber duster. This simple step prevents dust and dirt from accumulating and becoming embedded in the paint. For more thorough cleaning, use a gentle cleaning solution made of warm water and mild dish soap. Dip a soft sponge into the solution, wring it out well, and gently wipe the walls in a circular motion. Avoid using harsh chemicals or abrasive scrubbers, as they can damage the paint finish. If you encounter stubborn stains, such as fingerprints or scuff marks, a paste made from baking soda and water can be an effective solution. Apply the paste to the stain, let it sit for a few minutes, and then gently scrub with a soft cloth. Rinse the area with clean water and dry it with a towel. Regular maintenance also involves inspecting your walls for any signs of damage, such as chips or cracks. Address these issues promptly by touching up the paint to prevent further deterioration. For more extensive repairs or if you’re considering a fresh coat of paint, consider hiring professional painting services to ensure a flawless finish. Additionally, maintaining a consistent indoor environment by controlling humidity and temperature can help prevent paint from peeling or blistering. If you have any questions about maintaining your painted walls or need expert advice, feel free to contact us. Our team is always ready to assist you with all your home improvement needs. For more tips on home maintenance and renovation, visit our blog. By following these simple yet effective cleaning and maintenance tips, you can keep your painted walls looking fresh and vibrant for years to come, ensuring that your interior spaces always reflect your personal style and taste.
Common Mistakes to Avoid for a Flawless Finish
Achieving a flawless finish in interior painting requires careful attention to detail and avoiding common pitfalls that can compromise the final result. One of the most frequent mistakes is neglecting proper surface preparation. Before applying any paint, it is crucial to clean the walls thoroughly, repair any cracks or holes, and sand the surfaces to ensure they are smooth. Skipping these steps can lead to uneven paint application and a less-than-perfect finish. Another common error is choosing the wrong type of paint for the specific room or surface. For example, using a flat paint in high-moisture areas like bathrooms can result in peeling and mold growth. Instead, opt for a semi-gloss or satin finish that is more durable and moisture-resistant. Additionally, failing to use primer can lead to poor adhesion and uneven color. Primer creates a uniform surface for the paint to adhere to, enhancing the vibrancy and longevity of the color.
Moreover, many DIY painters make the mistake of not using painter’s tape or using it incorrectly. Painter’s tape helps achieve clean lines and prevents paint from bleeding onto adjacent surfaces. Ensure the tape is applied securely and removed at the right time, typically when the paint is dry to the touch but not fully cured, to avoid peeling. Another oversight is painting in the wrong conditions. Painting in extreme temperatures or high humidity can affect the drying process and the final appearance of the paint. Aim to paint in moderate temperatures and ensure good ventilation to facilitate proper drying.
Furthermore, using low-quality brushes and rollers can result in streaks and an uneven finish. Investing in high-quality tools can make a significant difference in the outcome of your painting project. Additionally, rushing through the painting process is a common mistake. Allow adequate drying time between coats to prevent smudging and ensure a smooth finish.
Lastly, improper cleanup and maintenance can diminish the longevity of your paint job. Clean your brushes and rollers thoroughly after each use to maintain their quality and store leftover paint properly to ensure it remains usable for touch-ups. For more detailed guidance on achieving a flawless finish, consider exploring our painting services or check out our blog for additional tips and insights. If you have any questions or need further assistance, feel free to contact us.
In conclusion, achieving a perfect finish with your interior painting project is entirely within reach with the right preparation, tools, and techniques. By taking the time to properly prepare your surfaces, choosing the right paint and tools, and applying your paint with care, you can transform any room into a beautiful and inviting space. Remember to pay attention to details such as cutting in, using painter’s tape for clean edges, and allowing adequate drying time between coats. With these tips in mind, you’ll not only enhance the aesthetic appeal of your home but also increase its value and longevity. So, roll up your sleeves, unleash your creativity, and enjoy the rewarding process of bringing new life to your interiors. Happy painting!